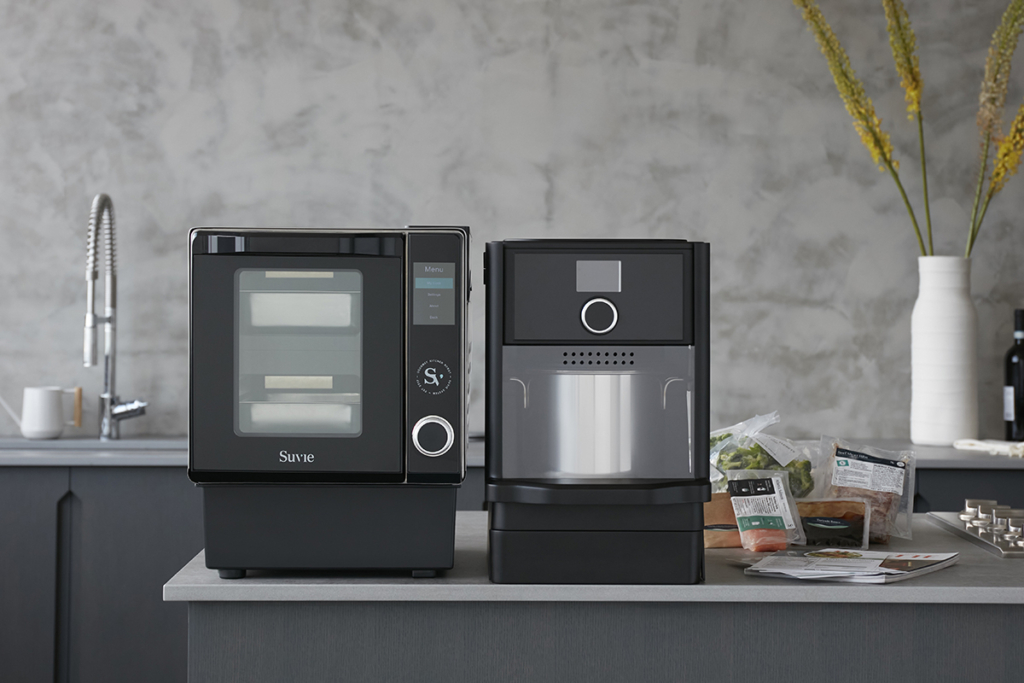
Meet your Suvie Kitchen Robot’s perfect sidekick and unlock perfectly cooked pasta, rice, and grains.
Through this Quick Start Guide, we will walk you through all of the details you need to know to get your Suvie Starch Cooker set up and cooking quickly!
Be sure to visit our recipe blog as well for delicious meals. If you have any questions at all, please email our customer support team at help@suvie.com.
What’s In The Box: Starch Cooker
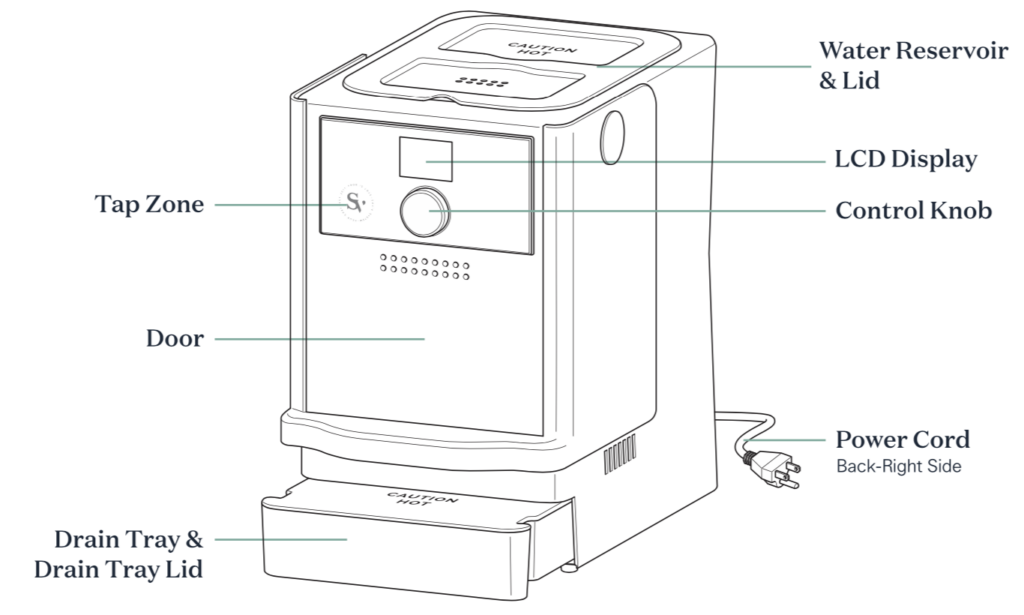
Be sure to remove all packaging prior to first use. Suvie features a water reservoir at the top of the device, with convenient water level fill lines indicated on the side as well as a removable drain tray.
Included Pots & Accessories
Your Suvie Starch Cooker will include the starch pot, rice pot, pasta strainer and a removable pot lid, which is compatible with all pots. All of these accessories are dishwasher safe for convenience.
When selecting your starch type, the display will prompt you to select the required pot(s) to be used.
Always be sure the pots sit centered on top of the heating plate when inserted into the unit for maximum contact.
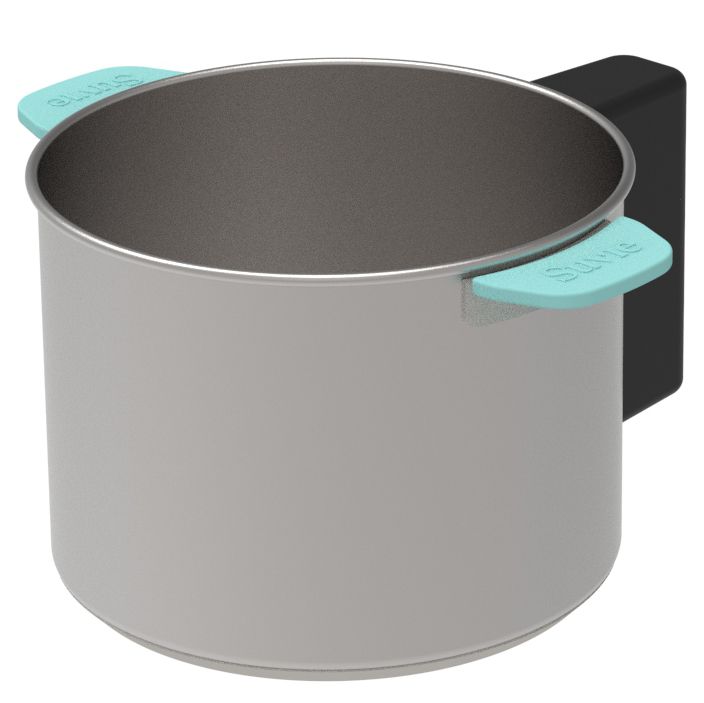
Pasta Pot
(Green Handles)
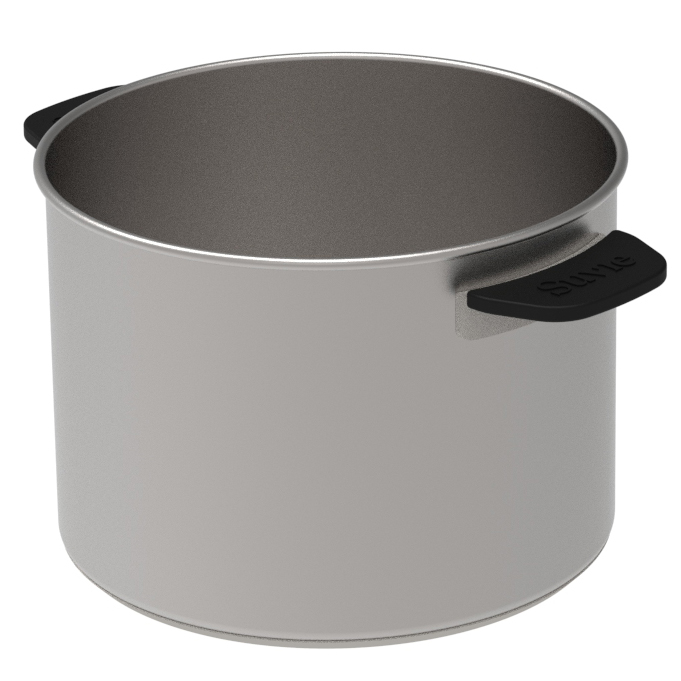
Rice Pot
(Black Handles)
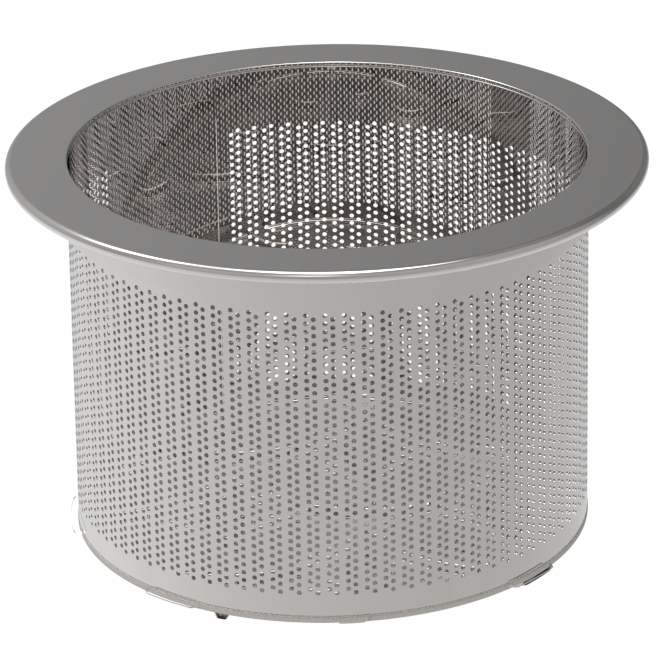
Strainer Insert
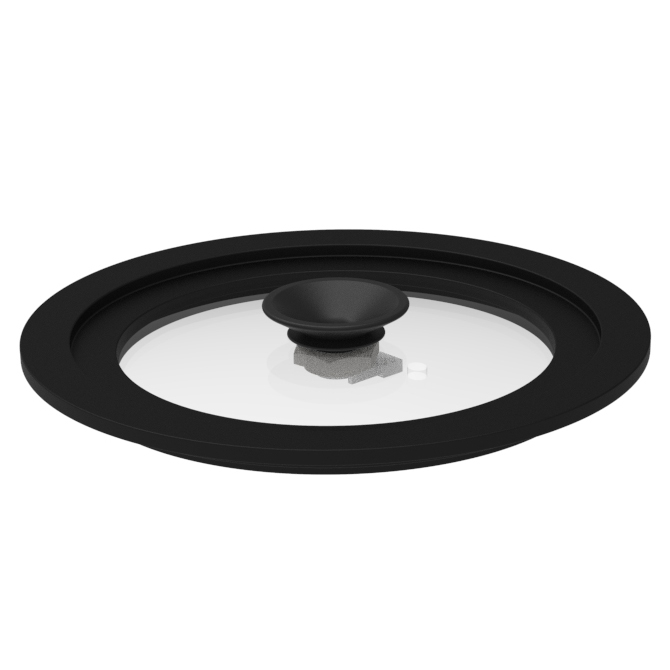
Pot Lid
When to Use Each Accessory?
| Starch Type | Pot Lid | Pasta Pot | Rice Pot | Strainer Insert |
| Rice, Oatmeal & Grains* | X | X | ||
| Pasta & Potatoes | X | X | X | |
| Slow Cook | X | X |
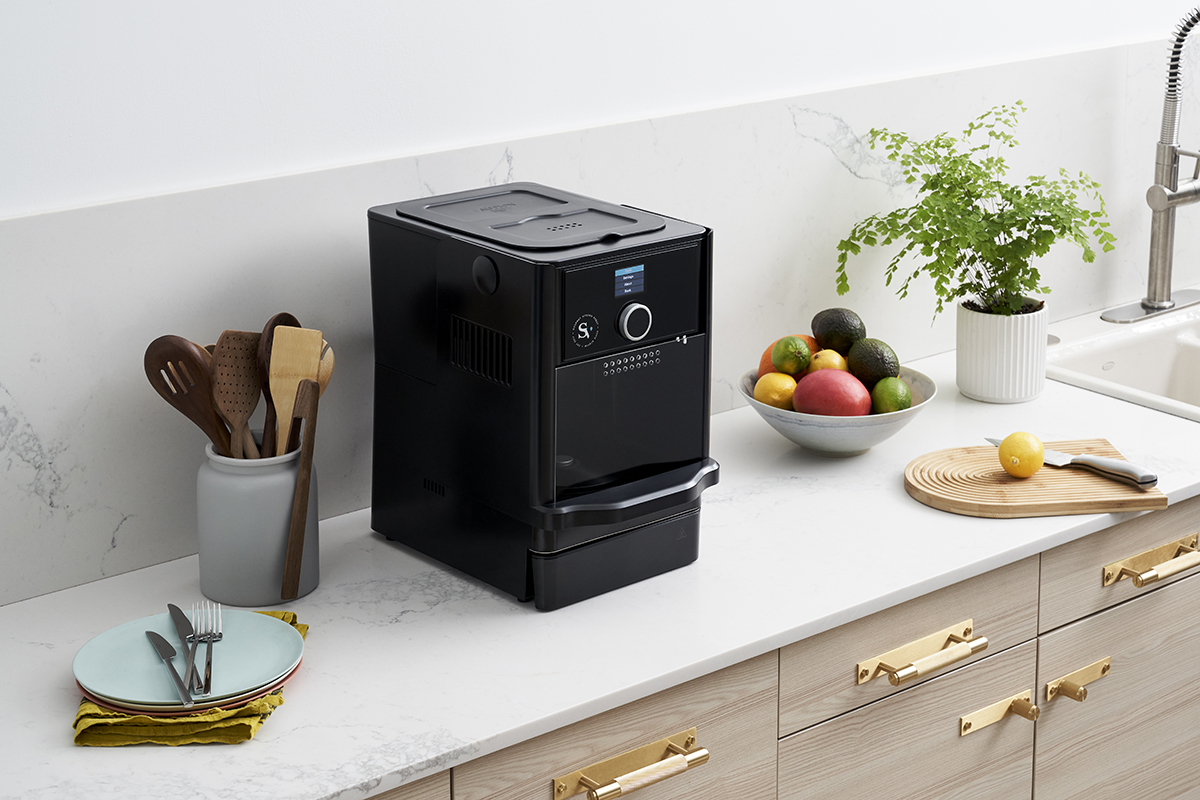
Countertop Placement
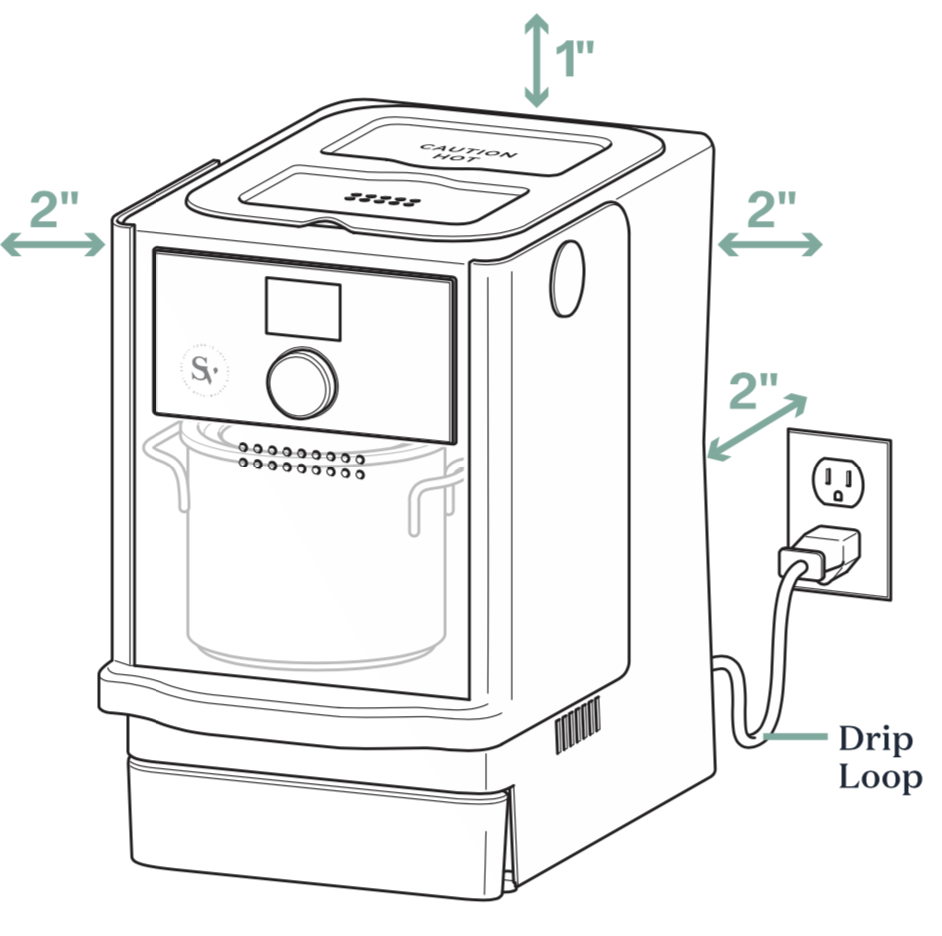
For optimal performance we recommend that you place your Suvie on a solid, flat, countertop surface that can withstand moisture. Do not install in an enclosed cabinet.
- Leave 2″ from the back
- Leave 2″ from the left and right side
- Leave 1″ from the top
WARNING: Starch cooker is hot while cooking. Keep out of reach of children.
Quick Setup Instructions
After plugging in your Suvie Starch Cooker, follow the on-screen instructions, which will guide you through connecting Suvie to your WiFi network and downloading the latest updates.
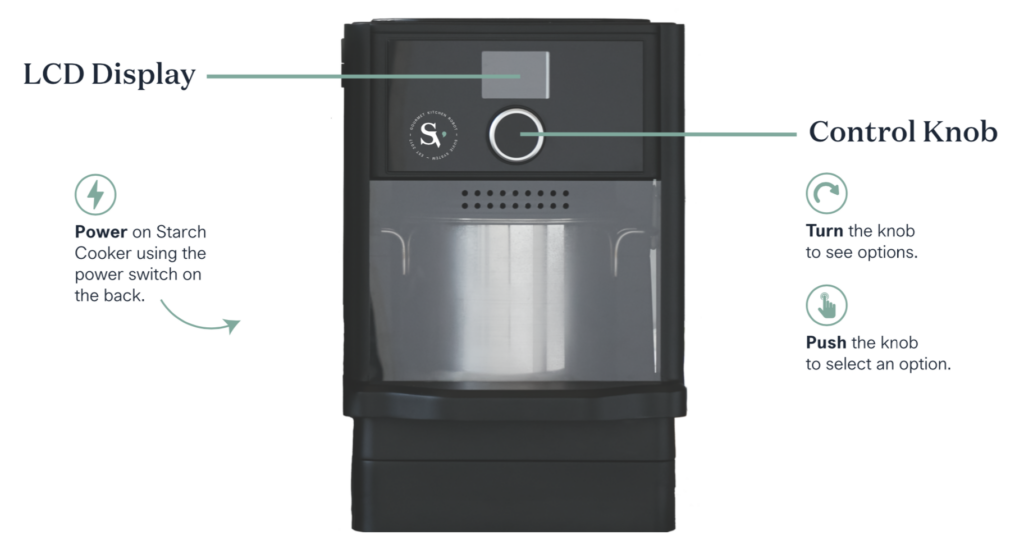
Once setup is complete, you can begin cooking right away. Questions about setting up your Suvie? Please email us at help@suvie.com.
Filling the Water Reservoir
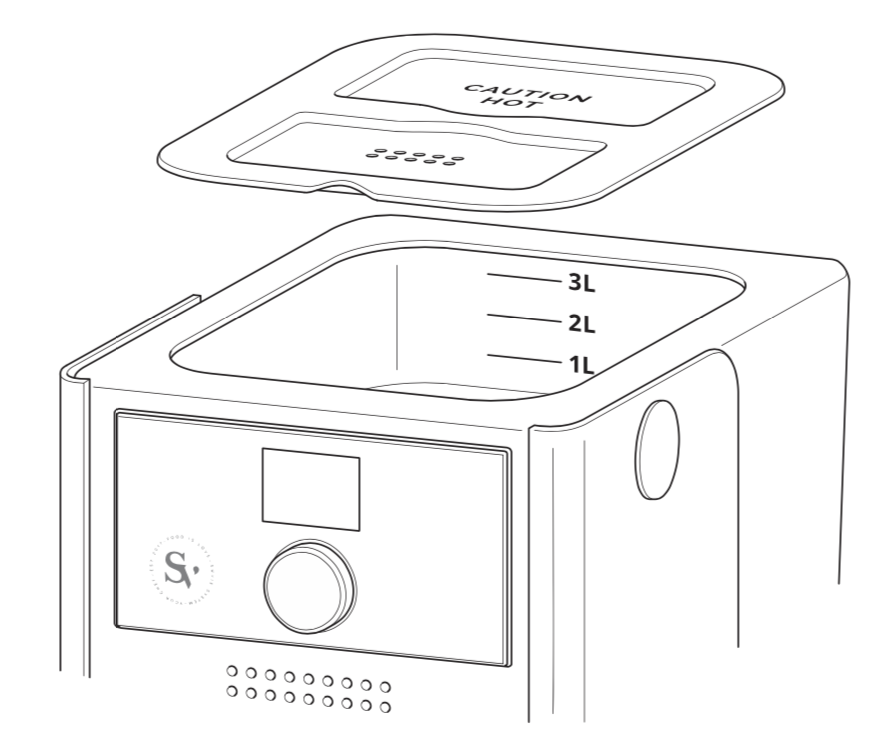
The water reservoir is located at the top of the device and is non-removable. Fill only when prompted on the display to the fill line indicated.
Do not add water to the pots unless prompted on the display. Water will be automatically added unless indicated.
WARNING: The water in the reservoir will steam, bubble, and get hot while cooking. This is normal and expected while in operation. Do not touch the reservoir while it is in use.
Fill Level Guidelines
| Rice, Oatmeal & Grains | |
| 0.5 – 1 Cup | 3L Fill Line |
| 1.2 – 2 Cups | 3L Fill Line |
| 2.5 – 3 Cups | 3L Fill Line |
| Pasta & Potatoes | Max 3L Fill Line |
Emptying the Drain Tray
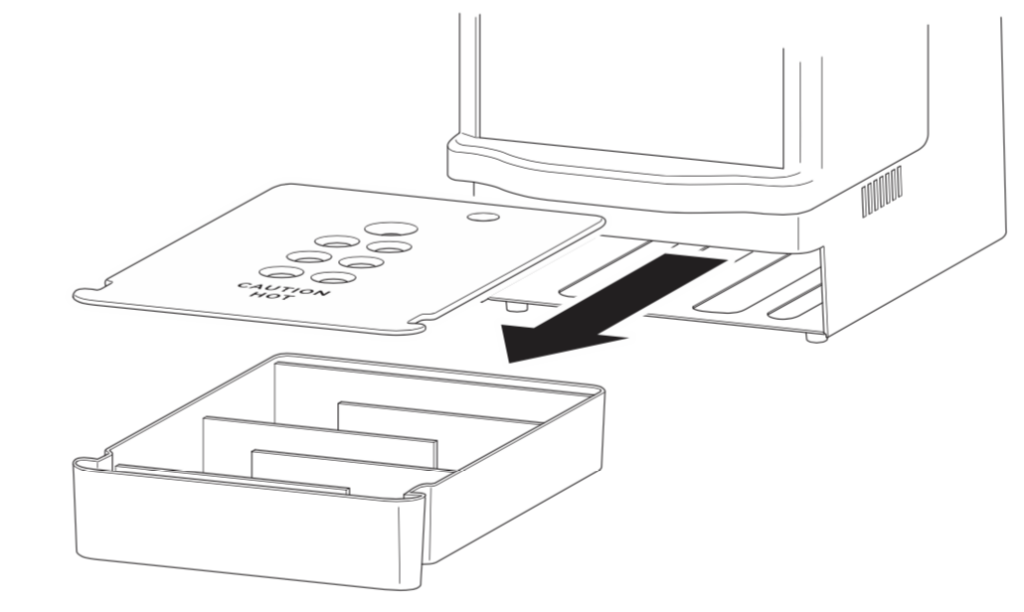
CAUTION: The contents of the drain tray will be hot after use. Use caution when removing the drain tray.
After Each Cook:
- Allow time for hot water to cool before removing the drain tray.
- Carefully remove the drain tray and discard water.
- Clean drain tray & lid after each use.
- Replace lid and insert into the unit.
Never remove the drain tray while the unit is in use.
The Tap Zone
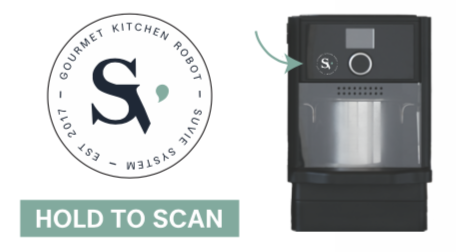
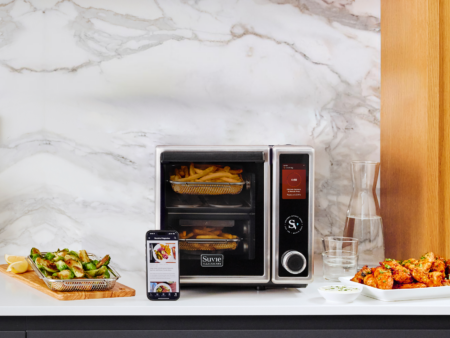
When cooking Suvie Meals, simply hold the Suvie logo directly onto the Tap Zone to load the cooking instructions. Your Suvie Kitchen Robot and Starch Cooker will seamlessly work together.
If You Are Connected to WiFi
Use the Tap Zone to scan meal cards on the Suvie Kitchen Robot first. Your main Suvie appliance will send cooking instructions automatically to your Starch Cooker.
If Your Are NOT Connected to WiFi
Use the Tap Zone to scan the meal card on both the Suvie Kitchen Robot & Starch Cooker devices separately.
Starch-Only Suvie Meal Add-Ons
Use the Tap Zone to scan the meal card on the Starch Cooker.
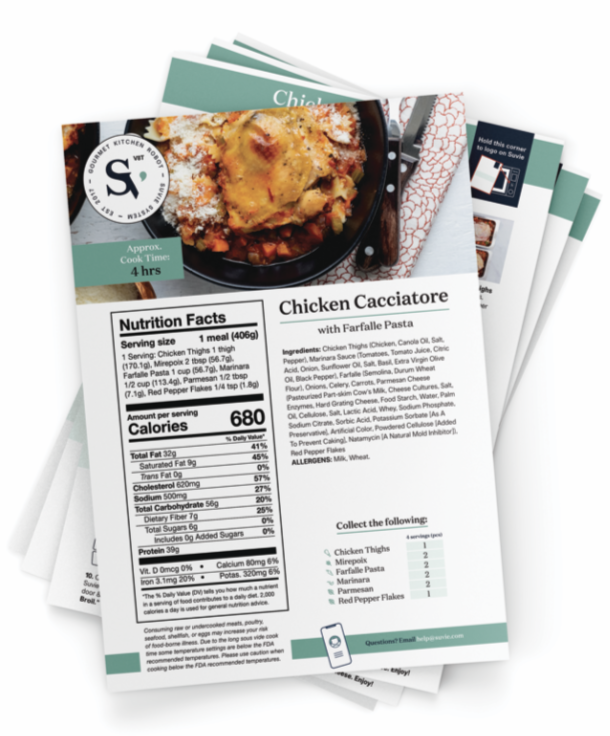
Cooking Suvie Meals
Step 1: Follow the ingredient loading instructions on the meal card

Step 2: Hold the meal card directly on the Suvie Kitchen Robot Tap Zone. When successful, you will hear a beep and see the recipe name on the display.
If not connected to WiFi, scan the meal card on both units separately.
Step 3: When prompted, fill the reservoir to the fill line indicated on the meal card instructions.
Step 4: Select Cook Now to begin cooking right away, or Schedule to finish later.
Step 5: When cook has finished, remove the pot & drain tray.
Cooking With Your Own Starches

Rice, Grains & Oatmeal
Suvie Starch Cooker automatically adds water to your rice, grains, and oatmeal, and gently cooks it to perfection.
Food Prep:
- Place dry ingredients into the rice pot (black handles). Add salt to taste and cover with the pot lid.
- Select Rice, Grains, or Oatmeal on the display, then follow the on-screen prompts.
- When prompted, enter the number of dry cups of starch added to the pot.
- Fill the water reservoir with water to the fill line indicated.
- Select Cook Now or Schedule ahead.
You Will Need:


Fill Level Guide:
| 0.5 – 1 Cup | 3L |
| 1.5 – 2 Cups | 3L |
| 2.5 – 3 Cups | 3L |

Pasta, Potatoes & Grains
Automatically pre-heat, fill, cook, and drain pasta to al dente perfection. Also perfect for potatoes and other starchy foods that require boiling.
Food Prep:
- Place dry ingredients into the strainer then insert into the pasta pot (green handles). Add a handful of salt then cover with the pot lid.
- Select Pasta, Potatoes, or Grains on the display, then specific start type preferences.
- Enter the number of cups of dry starches added to the pot.
- Fill the water reservoir with water to the fill line suggested.
- Select Cook Now or Schedule in advance.
You Will Need:


Fill Level Guide:
| Any Volume | Max 3L |

Slow Cook
Cook ingredients at a low temperature over an extended period of time. Perfect for braises, stews, and soups.
Food Prep:
- Place ingredients into the rice pot (black handles) and cover with the pot lid. Please be aware that this unit does not refrigerate. If you are looking to schedule a slow cook in advance, use the Suvie Kitchen Robot.
- Select the slow cook option on the display.
- Select either high or low temperature and enter your desired cook time.
- Select Cook Now to begin cooking.
You Will Need:
The water reservoir should not be filled when using the slow cook function.
Caring For Your Suvie Starch Cooker
Cleaning your Suvie Starch Cooker is incredibly easy. Please allow the unit to cool before emptying the drain tray or cleaning.
- Allow Suvie Starch Cooker to cool down after use
- Remove the drain tray and discard water. Clean throughly after each use. The drain tray is dishwasher safe for convenience.
- Clean pots/lid with soapy water, or in your dishwasher after each use.
- Wipe the Starch Cooker unit clean with a soapy sponge and then dry.
Never use any alkaline-based products, like bleach, on the Suvie Starch Cooker.